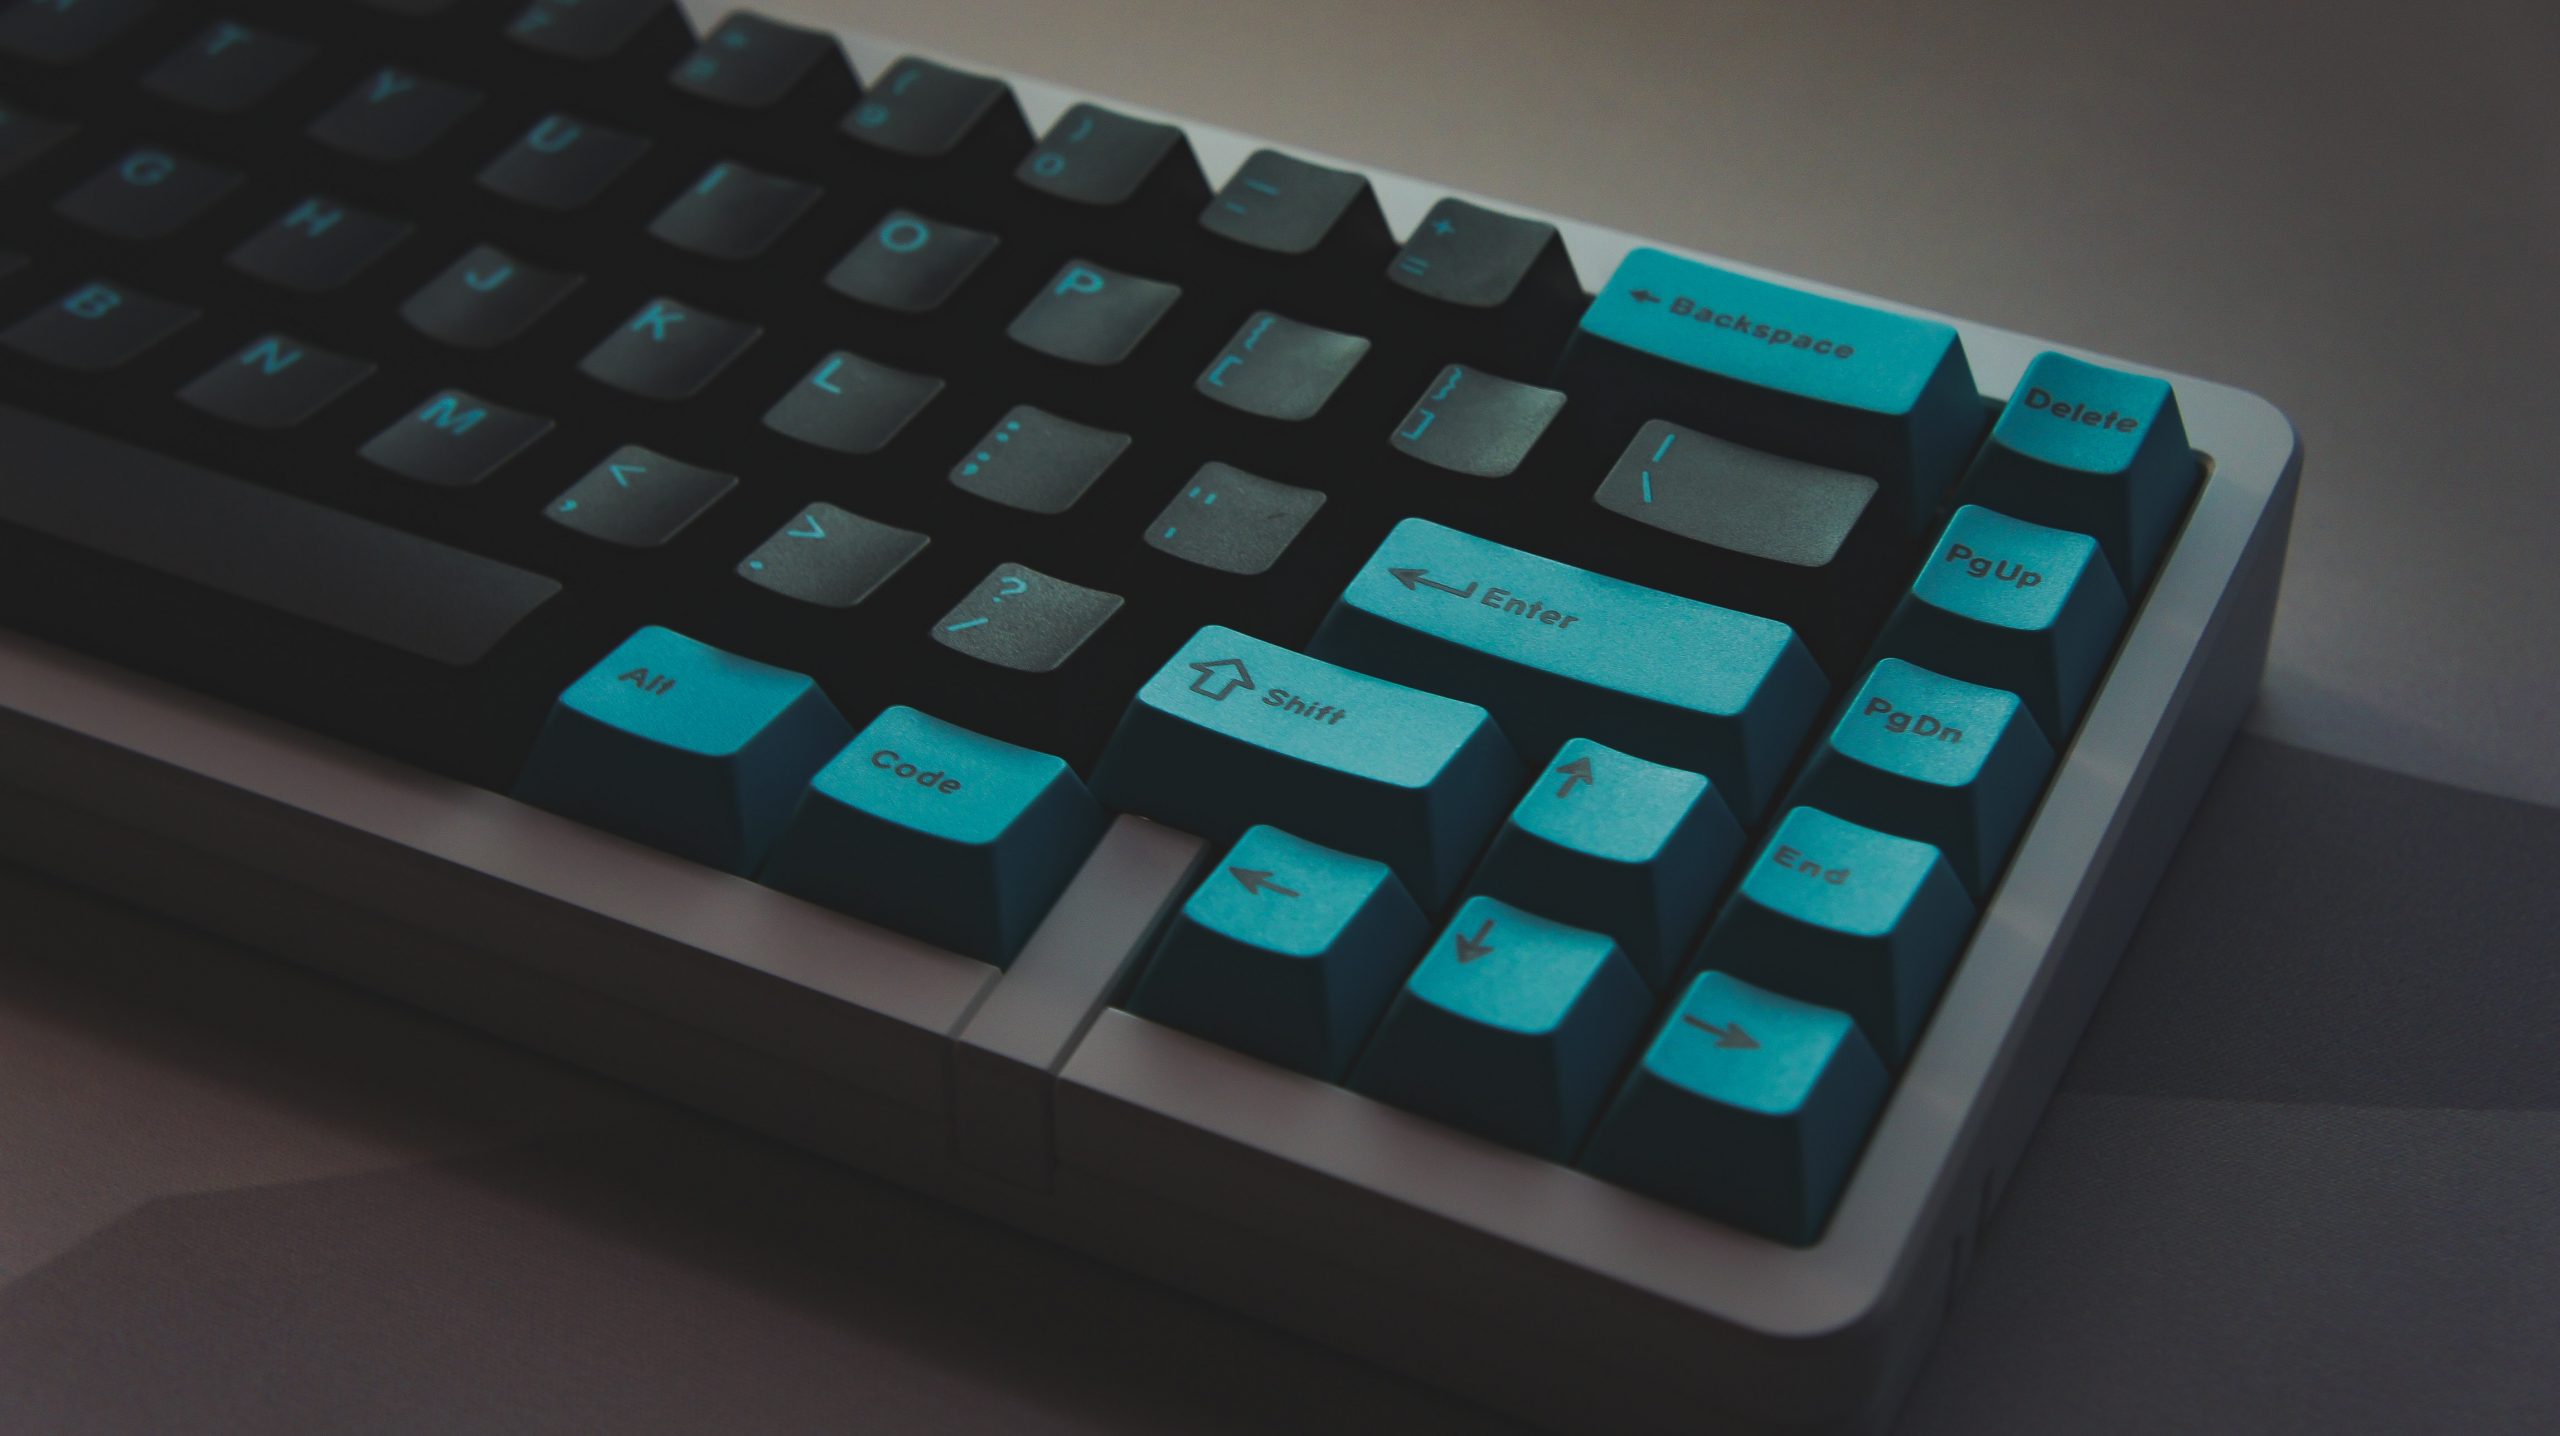
HyperX Guide to Cleaning Mechanical Keyboards

In 3 simple steps, it is possible to leave it as good as new.
Being a good gamer requires skill and discipline. Within the routines, a very important one is to keep the gaming area and all the peripherals clean. In that sense, mechanical keyboards offer a great advantage: the ease with which they can be disassembled and cleaned, something that cannot be done with a membrane keyboard. This is possible because, unlike a membrane keyboard, the mechanical keyboard uses individual key switches to register each keystroke. Proper cleaning extends its useful life and allows it to maintain optimal performance.
In this guide, HyperX shares 3 easy steps to clean a mechanical keyboard so you can unlock its full potential.
Removing the keycaps
The first step in cleaning the keyboard is to unplug it so as not to mix moisture and electricity. Also, in the case of an RGB mechanical keyboard or a mechanical keyboard with some type of backlight, bright lights could be distracting during cleaning. Once the keyboard is without power, the next step is to learn how to remove and replace the keycaps. To do this, it is necessary to have a crucial extractor to be able to remove the keyboard covers.
HyperX includes it with most of its keyboards. It is recommended to do it in groups and organize the covers of the removed keys so that they can be replaced without having to remember which key goes where. It is important to carefully remove the larger keys, such as the space bar, the Shift key, and the Enter key,
Once the keycaps are removed
Once the keycaps have been removed, any loose debris on the keyboard itself needs to be removed. This can be done by turning the keyboard upside down and shaking off the debris, or by taking a can of air and blowing it out. To clean up any spillage that may have occurred, use a damp microfiber cloth and stir up the liquid. It is essential to ensure that water does not enter the keyboard directly, as most mechanical keyboards are not waterproof. For that, you have to put water on the cloth, and not directly on the keyboard.
If further cleaning is required, isopropyl alcohol can be used and applied to the cloth, again being very careful to never apply any liquid directly onto the keyboard and key switches. After cleaning the inside of the keyboard, you need to clean the keycaps. If the keys are very dirty, a small amount of isopropyl alcohol placed on a microfiber cloth can also be used to clean each key individually. If you don’t want to clean the individual keys, they can be cleaned while attached to the keyboard by wiping them with a slightly damp microfiber cloth.
Might be you Also Interested to Read: How to Fix Corsair Mouse and Keyboard Problems on macOS and Linux
Attaching the keyboard covers
After making sure that there is no liquid residue or moisture left on the keyboard, turn it over and allow it to air dry overnight. Once the keyboard is completely dry, replace the keys one by one. If each of the keys has been washed, ensure they are also scorched when placed back on the keyboard. Once the keys are placed on the keyboard, with a slightly damp microfiber cloth clean the keys once more.
Aftercare
When the keyboard is assembled again, it needs to be turned over once more and allowed to dry overnight again. This may seem like an excess of caution, but it is necessary to make sure that absolutely no moisture remains on the keyboard before you plug it in and run electricity through it. The longer the drying time, the more secure the subsequent keyboard connection will be.


