This article will provide step-by-step instructions on how to remove mechanical keyboard keys – the keys on a mechanical keyboard that are designed to last and provide a tactile feedback that is often preferred by gamers and typists. The process of removing and replacing keys on a mechanical keyboard is relatively straightforward, but requires patience and attention to detail. With the right tools and techniques, you can safely remove mechanical keyboard keys and get your keyboard back in working order.
Reasons for Removing Keys
Removing mechanical keyboard keys can be a tricky process, but it can be necessary for certain situations. Below are two of the most common reasons for needing to remove keys from a keyboard.
Broken Keys
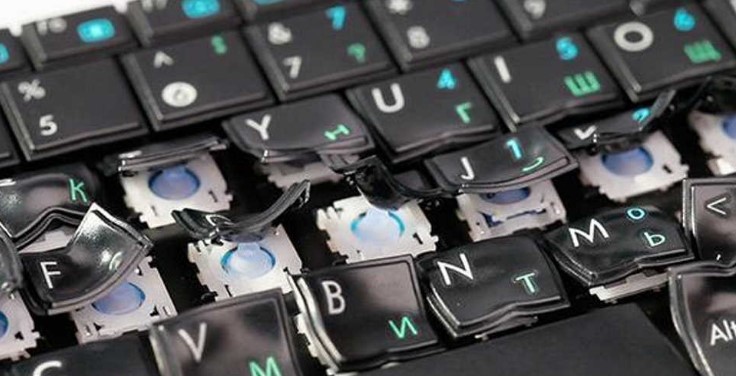
Mechanical keyboards are known for their durability, but occasionally a key may become broken for a variety of reasons. When this occurs, the key needs to be removed and replaced with a new one.
Customizing Key Layout
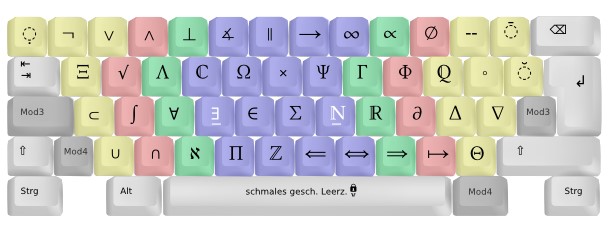
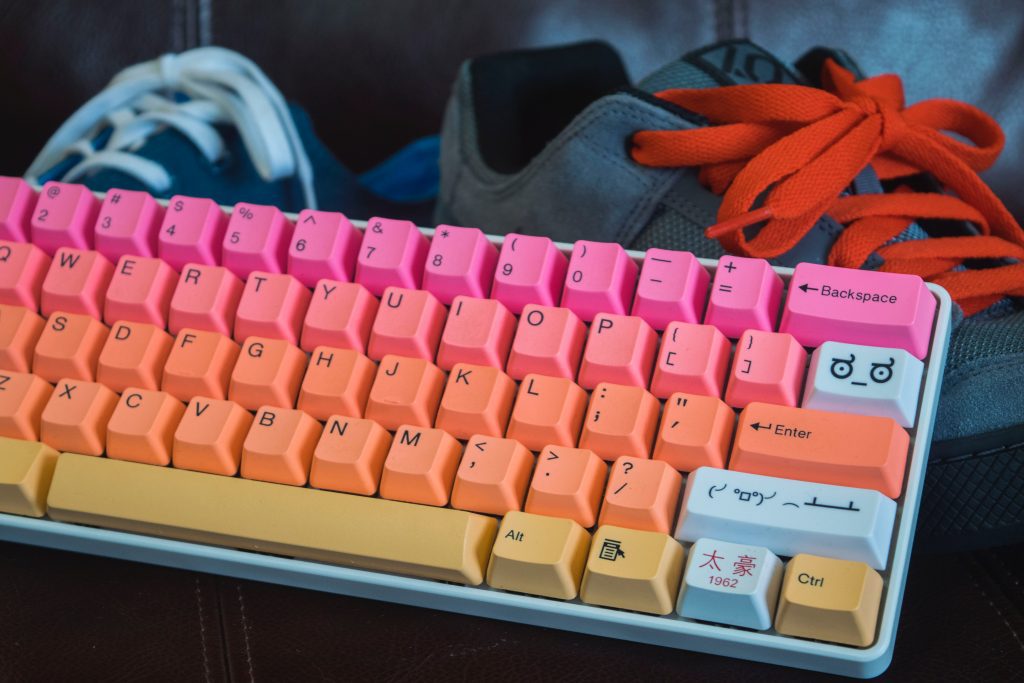
Mechanical keyboards are often customizable, and many users will want to tweak their keyboard layout to suit their needs. This often involves removing keys and adding different ones in their place. In this case, it is important to be careful when removing and replacing keys so that the keyboard remains functional.
Steps to Remove Mechanical Keyboard Keys
Gather the Necessary Tools
Before beginning the process of removing mechanical keyboard keys, it is important to gather all the necessary tools. These may include a keycap puller, screwdriver, and a cloth or paper towel. The keycap puller is the most important tool, as it is specifically designed to remove the keys from the keyboard.
Disconnect the Keyboard
Once all the necessary tools have been gathered, the next step is to disconnect the keyboard from the computer. This is done by unplugging the USB or PS/2 cable that connects the keyboard to the computer.
Prepare the Keyboard
The third step is to prepare the keyboard for the removal of the keys. This includes turning the keyboard upside down and placing a cloth or paper towel on the surface to protect it from any potential damage.
Identify the Keys
The fourth step is to identify the keys that need to be removed. This can be done by carefully examining the keyboard and locating the keys that need to be removed.
Insert the Keycap
Puller Once the keys that need to be removed have been identified, the fifth step is to insert the keycap puller into the space between the keycap and the keyboard. This will allow the keycap to be removed without damaging the keyboard.
Remove the Keycap
The sixth step is to use the keycap puller to remove the keycap. This is done by gently pulling the keycap away from the keyboard. It is important to take care not to damage the keycap or the keyboard during this process.
Clean the Keyboard
The seventh step is to clean the keyboard. This can be done by using a cloth or paper towel to remove any dirt or dust that may have accumulated on the keyboard.
Reassemble the Keyboard
The eighth and final step is to reassemble the keyboard. This can be done by carefully placing the keycap back on the keyboard and then plugging the USB or PS/2 cable back into the computer.
Conclusion
Removing mechanical keyboard keys is a simple and straightforward process that can help to improve the performance of your keyboard and customize it to your individual needs. With the right tools, it is a safe and easy process that can be completed in a few minutes. By following the steps outlined in this article, you can easily remove and replace mechanical keyboard keys to customize your keyboard, clean it, and make it look and feel like new.
Also Read: How to PE Foam Mod your Keyboard?
Frequently Asked Questions
How do I remove the mechanical keyboard keys?
You can remove keys from a mechanical keyboard by using a keycap puller. Keycap pullers are small tools specifically designed to grip the underside of a keycap and allow you to easily remove it from the keyboard.
What should I do before removing the mechanical keyboard keys?
Before you start removing the keys, make sure to turn off your computer and unplug the keyboard. This will help ensure that you do not accidently press any keys while removing them.
How do I know which keycap puller to use?
Most keycap pullers are universal and will fit any mechanical keyboard, but it is best to check the documentation of your specific keyboard to ensure that you are using the correct tool.
Do I need to do anything after removing the keys?
After you have removed the keys, you should clean the keyboard with a mild detergent. This will help keep the keyboard clean and reduce the chances of dust and dirt from collecting underneath the keys.
How do I put the keys back on?
When putting the keys back on, make sure to place them in the correct positions and orientations. You can refer to the documentation of your keyboard for a diagram of the layout and positions.

