Keyboards get dirty, and it is inevitable even if we are careful, so one of the regular maintenance tasks that we should do so that they are always in good condition is to clean them. In this tutorial, we are going to teach you a technique to clean a mechanical keyboard without damaging anything and leaving it as good as new in just a few minutes.
In this case, we are going to show you how to clean a mechanical keyboard (the type of switch does not matter, including low profile ones, which are, in fact, the ones we have used), but for membrane keyboards, the procedure will be similar. The exception is keyboards with scissors or butterfly switches, especially since removing the caps must be done very carefully so as not to break the mechanism. In this regard, we recommend that you do the cleaning without removing the switch caps, simply wiping them with alcohol very carefully because, let’s be honest, they almost break when you look at them.
Cleaning procedure
As we said at the beginning, keyboards get dirty even when you’re careful. It is no longer that you have spilled something, it is that over time they get dust, hair, and all kinds of dirt that remains under the caps, and can cause problems in extreme cases. With everything and with that, even if it is merely for hygiene, we must clean the keyboard from time to time to keep it in good condition.
For our example we’re going to use a Corsair K70 Rapidfire RGB with Cherry MX Speed Low Profile switches, which was cleaned about six months ago and great care has been taken not to get dirty. Even so, as you can see, it also gets dirty with daily use.
Remove the keys from the keyboard
The first step we must take is to remove every one of the keycaps. To do this, simply hold them by the sides and gently pull them up, although many keyboards include a tool for easier removal.
It is recommended, even if you know by heart where each key goes, that when you remove them you leave them in order so that you don’t make a mistake when putting them back, or take a photo of the keyboard with the mobile phone’s camera application.
We recommend that you store the keycaps in a bag with dish soap and water. Close the bag, shake and leave them there for at least one whole night. When you come back, take it out, open the bag and pour out the water, being careful not to throw any keys, so for this we recommend doing it on the top of the kitchen. Take a cloth next and clean each of the caps.
What cleaning fluid to use
Now we have several techniques to proceed with the cleaning, but both include having isopropyl alcohol, which is the only one that guarantees that the plastic of the caps will not be damaged. We can also use sanitary alcohol, but keep in mind that if we are not careful it could damage the plastic by corroding it, so we do not recommend it.
It is more expensive than sanitary alcohol, but it is the only one recommended when we use it in electronic components. In addition, with a one-liter bottle, we will have enough to clean keyboards for years.
Cleaning the mechanical keyboard in depth

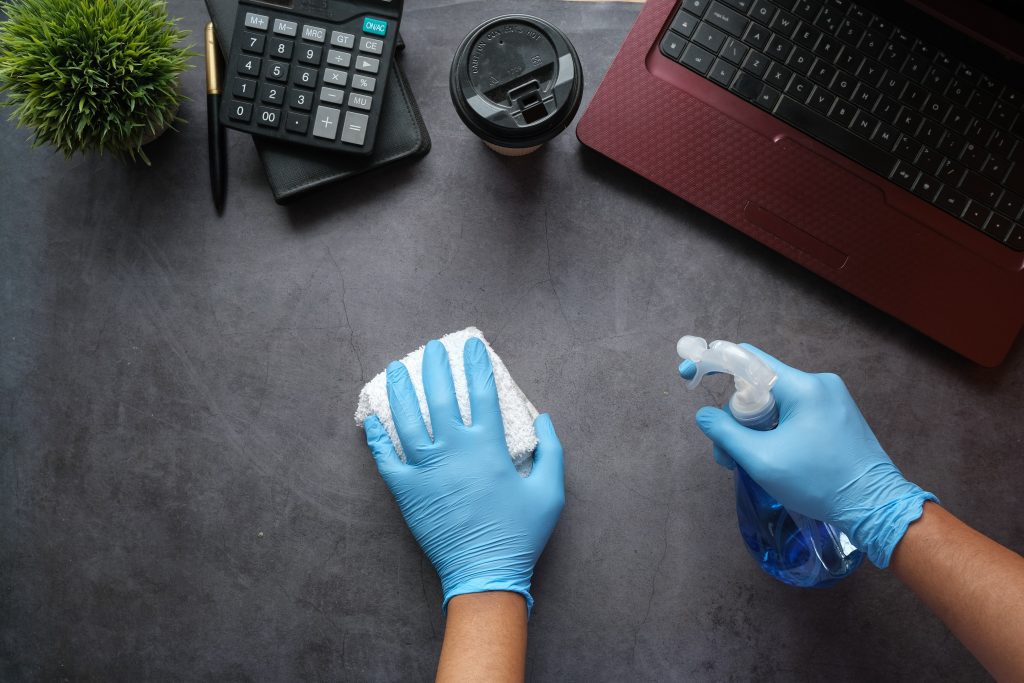
Now, as we said, there are several techniques, but many of them include earbuds and/or toilet paper that end up leaving residue on the keyboard, so what we recommend is to use a microfiber cloth you can buy packs of 3 for one euro in supermarkets). With the cloth folded several times (so it doesn’t ooze from underneath), we impregnate it with alcohol and use it to clean the entire surface of the keyboard, paying special attention to the gaps between the keys. Do not worry because unless we use a lot of force, nothing like this will be damaged.
After that is done, we fold the cloth and pour a little isopropyl alcohol on one of its sides again. Now we will take the caps and clean their five faces simply by rubbing them a little on the damp cloth. As we finish cleaning a cap, we can proceed to put it back on the keyboard by simply placing it on top of the switch and gently pressing down.
This last part of the cleaning process involves cleaning key by key, so it takes a while (like half an hour) but it is the best way to make sure that we have removed all the dirt from the keyboard and that it is as good as new. And in the end, it’s worth it.
The process is tedious, but the result is worth it, since the keyboard is like new, and not only is it clean but it is also disinfected thanks to the alcohol.
This is one of the greatest luxuries of a mechanical keyboard, the fact of being able to disassemble it for cleaning to give it a much longer useful life is appreciated. There are many keyboards that, although they use caps, are made of membrane and therefore the keys cannot be disassembled and that becomes a huge nest of microbes.
You have to clean the keyboard frequently
This process that we have told you about today takes about an hour. It’s a bit tedious, especially having to clean key by key, but it’s not something we have to do every week either.
If you are careful not to mess up (and very important: if you don’t smoke while on the PC because tobacco smoke makes everything dirty much more quickly, not to mention the ash), doing this process once every six months is more than enough in most cases and even more if you are especially careful. If you usually smoke and eat on the PC, then it is something that it would be advisable to do once a month to keep it in good condition and sanitized.
Of course, at least once a week it is also recommended to simply clean the keyboard over it with a dry microfiber cloth to remove the dust that has been deposited on the keys, in addition to that “grease” that inevitably gets stuck to the keyboard. contact with our fingers.
FAQs
1. Why is it important to clean my keyboard?
- A dirty keyboard can harbor germs, dust, and debris, which can affect your health and the keyboard’s functionality. Regular cleaning helps maintain a hygienic workspace and ensures your keyboard functions smoothly.
2. How often should I clean my keyboard?
- The frequency of cleaning depends on usage. For a heavily used keyboard, it’s recommended to clean it at least once a month. Light users can get away with cleaning it every three to six months.
3. What is the best way to clean a keyboard?
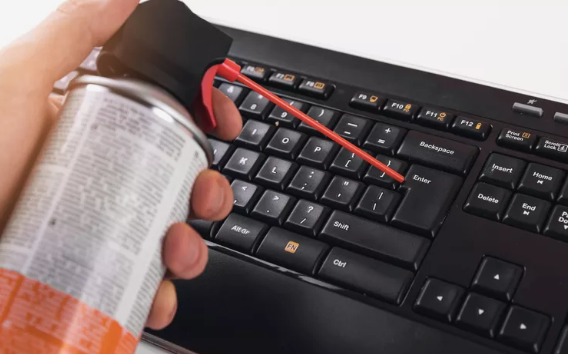
- Start by turning off or unplugging the keyboard. Use compressed air or a brush to remove loose debris. Then, use a mixture of isopropyl alcohol and water to clean the keys and surface. Be sure to follow your keyboard manufacturer’s recommendations for cleaning.
4. Can I remove and clean individual keys on my keyboard?
- Most mechanical keyboards allow you to remove and clean individual keys. However, this may not be possible for all keyboard types. Consult your keyboard’s user manual or manufacturer’s website for specific instructions.
5. Is it safe to use disinfectant wipes on my keyboard?
- Disinfectant wipes can be used to clean your keyboard, but be cautious. Make sure they are safe for electronic devices, and avoid getting excess moisture into the keyboard. Always follow the manufacturer’s cleaning recommendations to prevent damage.
Conclusion
Maintaining a clean keyboard is essential for both hygiene and optimal performance. Regular cleaning can extend your keyboard’s lifespan, prevent the spread of germs, and improve your typing experience. Whether you have a mechanical, membrane, or laptop keyboard, following proper cleaning techniques and guidelines from the manufacturer will help keep your keyboard looking and functioning like new. Remember, a clean keyboard not only benefits your health but also enhances your overall computing experience.


