No doubt if you’re a PC enthusiast, you know how important lube on keyboard switches can be. Whether it’s to make typing smoother or quieter, lube can make the difference between a great typing experience and a terrible one. But when the lube starts to gunk up and make typing difficult, it’s time to remove it. This article will teach you how to safely and effectively remove lube from your keyboard switches.
Steps to Remove Lube from Keyboard Switches
Disassemble the Keyboard
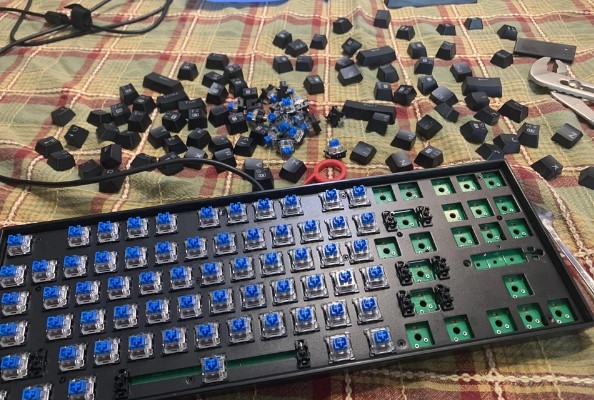
The first step to removing lube from keyboard switches is to disassemble the keyboard. This requires taking the keyboard apart and separating the switches from the keycaps. To do this, use a keycap puller or a flathead screwdriver to remove the keycaps one by one. Once the keycaps are removed, unscrew the screws that hold the switches in place. After all the screws are removed, carefully remove the switches from the keyboard.
Clean the Keyboard Switches with Isopropyl Alcohol
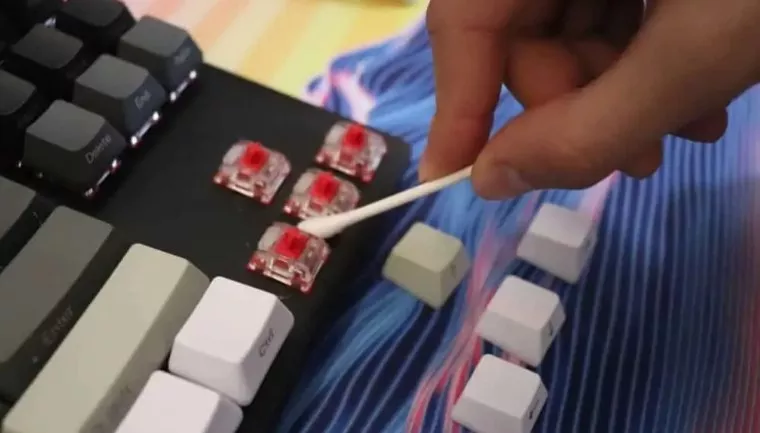
Once the switches are removed, it is time to clean them with isopropyl alcohol. Take a cotton swab and dip it into the alcohol. Then, carefully rub the switch stems and the bottom of the switch with the swab until all of the lube is removed. Make sure to get into all the crevices and creases of the switch.
Dry the Keyboard Switches
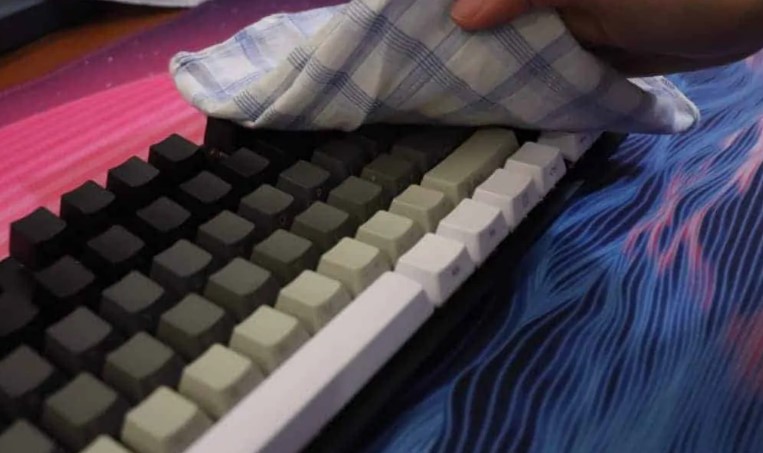
After the switches are cleaned, it is important to dry them thoroughly. Use a clean cloth or paper towel to dry the switches. Make sure to get into all of the crevices and creases of the switch. Once the switches are completely dry, it is time to move on to the next step.
Reassemble the Keyboard
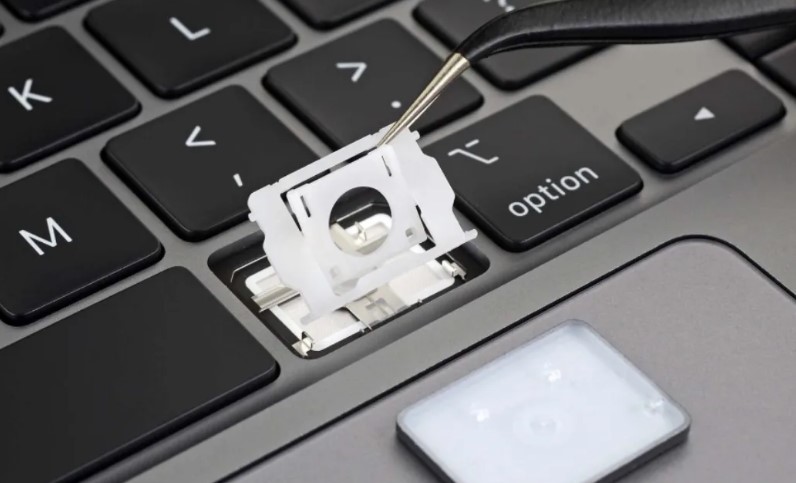
The final step is to reassemble the keyboard. Begin by placing the switches back into their respective slots on the keyboard. Then, screw the screws back in to securely hold the switches in place. Finally, place the keycaps back onto the switches and your keyboard is ready to use!
Causes of Lube Build-up
Lube build-up is a common issue that can occur in a variety of machines and equipment. In order to properly address and prevent lube build-up, it is important to understand the causes of it.
Natural Wear and Tear
Natural wear and tear is one of the most common causes of lube build-up. This is due to the gradual breakdown of the lubricant over time due to its exposure to heat, pressure, and other environmental factors. This can lead to the formation of a thick, sticky film on the parts of the machine, which can interfere with its proper functioning.
Excessive Use of Lube
Excessive use of lube can also lead to lube build-up. This is due to the fact that too much lubricant can accumulate on the parts of the machine, leading to a build-up of residue that can cause problems with the machine’s performance. It is important to ensure that the correct amount of lubricant is used to avoid this issue.
Benefits of Cleaning Keyboard Switches
Cleaning keyboard switches is one of the most important maintenance tasks for any mechanical keyboard. It helps ensure that your keyboard is working at its best performance levels. Cleaning keyboard switches helps prevent dust and other particles from collecting inside the switches, which can cause them to become stuck or unresponsive. Regular cleaning also helps to prevent oxidation of the switches and helps to maintain the tactile feel of the keys.
The benefits of cleaning keyboard switches are as follows:
Improved Performance
Regularly cleaning your keyboard switch will help to keep it in optimal working condition. This will ensure that your keyboard is responsive and accurate when you type.
Extended Life
Cleaning your keyboard switch will help to extend its life. Dirt, dust, and other particles can collect inside the switch, causing it to become stuck or unresponsive. Regularly cleaning your switch will help to avoid this issue.
Improved Feel
Cleaning your keyboard switches will help to maintain the tactile feel of the keys. This will provide a better typing experience and will ensure that your typing is accurate.
Reduced Noise
Cleaning your keyboard switch will help to reduce the amount of noise produced when typing. This will make your typing more comfortable and will help to reduce distractions.
Overall, cleaning your keyboard switch is an important maintenance task that should be done regularly. It will help to keep your keyboard in optimal working condition and will provide a better typing experience.
Conclusion
In conclusion, removing lube from keyboard switches can be a tricky process, but with the right tools, it can be done quickly and effectively. Be sure to use the correct tools and to take the time to properly clean and re-lube your keyboard switches. Following this guide should help you achieve the best results when removing lube from your keyboard switches.
Also Read: How to PE Foam Mod your Keyboard?
Frequently Asked Questions
What is the best way to clean lube off of keyboard switches?
The best way to clean lube off of keyboard switches is to use a Q-tip soaked in isopropyl alcohol and gently scrub the switch. Alternatively, you can use a cotton swab or an old toothbrush.
Can I use water to clean lube off of keyboard switches?
No, it is not recommended to use water to clean lube off of keyboard switches as this may damage the switch. Instead, it is best to use a Q-tip soaked in isopropyl alcohol.
How often should I clean lube off of keyboard switches?
It is recommended to clean lube off of keyboard switches every few months or as needed.
Can I use paper towels to clean lube off of keyboard switches?
No, it is not recommended to use paper towels to clean lube off of keyboard switches as this may damage the switch. Instead, it is best to use a Q-tip soaked in isopropyl alcohol.
Is it possible to remove lube from the keyboard switch without damaging it?
Yes, it is possible to remove lube from the keyboard switch without damaging it. The best way to do this is to use a Q-tip soaked in isopropyl alcohol and gently scrub the switch. Alternatively, you can use a cotton swab or an old toothbrush.

