How to Easily Make A DIY Keycap Puller

Making a DIY keycap puller is a great way to save money and add a custom touch to your keyboard. It is an easy project that can be done with just a few materials and tools. This article will provide step-by-step instructions on how to make a keycap puller that is both effective and inexpensive. You’ll be able to easily remove the keycaps from your keyboard with the puller and customize your keyboard with ease. You’ll also be able to change out keycaps with ease, so you can always have the perfect keycap set for your keyboard.
Reasons for Making a DIY Keycap Puller
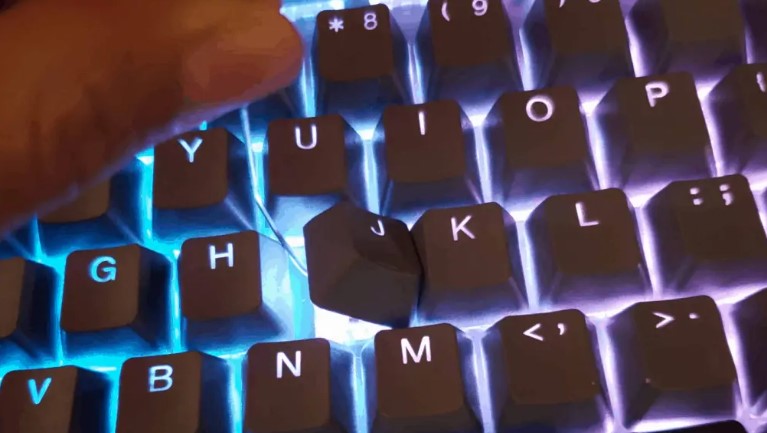
A DIY keycap puller is a device used for removing keycaps from mechanical keyboards. It is a simple yet effective tool that can help you quickly and easily remove keycaps from your keyboard without damaging the switches or keycaps.

There are several reasons why you may want to make your own keycap puller. First, it is often much cheaper than buying a pre-made one. Second, you can customize it to fit your specific needs or preferences. Third, you can make it out of materials that you already have and are familiar with. Fourth, you can make it to fit your keyboard perfectly. Finally, it is a great way to show off your customizing skills and have a unique tool for your keyboard.
Making a DIY keycap puller is a great way to save money, customize your keyboard, and have a unique tool. It is also a great way to show off your customizing skills and have a unique tool for your keyboard. So, if you are looking for an easy, inexpensive, and customizable way to remove keycaps from your keyboard, making a DIY keycap puller is definitely an option you should consider.
Materials Needed for Making a DIY Keycap Puller

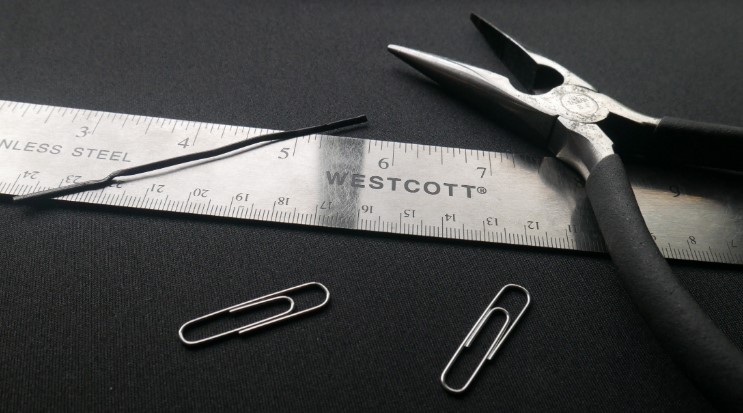
- Two pieces of thin, bendable wire (such as small jewelry wire or even thin paper clips)
- Duct Tape
- Pliers
- Sharp scissors (or wire cutters if you have them)
- A ruler
Instructions for Making a DIY Keycap Puller
1. Cut two pieces of the thin wire to the desired length. You want them to be long enough to reach the keycap you’re trying to remove but not so long that they’re too bulky when bent.
2. Bend the ends of each wire into a loop shape. This will help keep the wire secure around the keycap.
3. Place the two pieces of wire side-by-side on a flat surface. Line up the loops and make sure they’re even.
4. Wrap the duct tape around the two pieces of wire, securing them together. Make sure the tape is tight and secure.
5. Use the pliers to carefully twist the two pieces of wire together at the loops. This will create a handle for the keycap puller.
6. Use the ruler to measure the length of the keycap puller. You want it to be long enough to reach the keycap but not so long that it’s too bulky.
7. Use sharp scissors (or wire cutters) to trim off any excess wire. And that’s it! You’ve successfully created your own DIY keycap puller.
Also Read: How to Clean Water Off A Mechanical Keyboard?
Conclusion
Overall, creating your own keycap puller is a simple, cost-effective way to remove keycaps from your mechanical keyboard. With a few basic tools, some common materials, and a bit of effort, you can make a reliable keycap puller that will stand up to years of wear and tear. This project is a great way to give your keyboard a personalized touch and make it your own. With your own DIY keycap puller, you’ll have the satisfaction of knowing that you put in the hard work to make something you can use for a long time.
Frequently Asked Questions
What materials do I need to make a DIY keycap puller?
You will need a pair of pliers, a pair of scissors, two paper clips, and some strong tape such as duct tape or electrical tape.
How do I use the DIY keycap puller?
Simply place the paper clips into the pliers and use the scissors to twist and form the paper clips into a Y-shape. Secure the paper clips together with the tape and use the puller to safely remove the keycaps from the keyboard.
How do I store the DIY keycap puller?
After use, you can wrap the paper clips in a piece of cloth or store it in a plastic bag. Make sure that the puller is completely dry before storing it.
How do I clean the DIY keycap puller?
You can clean the puller with a damp cloth or a cotton swab and some mild soap or rubbing alcohol. Make sure that the puller is completely dry before storing it.


