Do you want to take stunning photographs of your keyboard? Whether it’s for a blog post, a product review, or just for fun, taking high-quality photos of a keyboard can be tricky. But with the right tools and techniques, you can learn how to take better photos of your keyboard. This article will provide tips on how to get the most out of your photos and make your keyboard look its best.
Steps to Take Better Photos Of Your Keyboard
Preparations
Selecting the right equipment
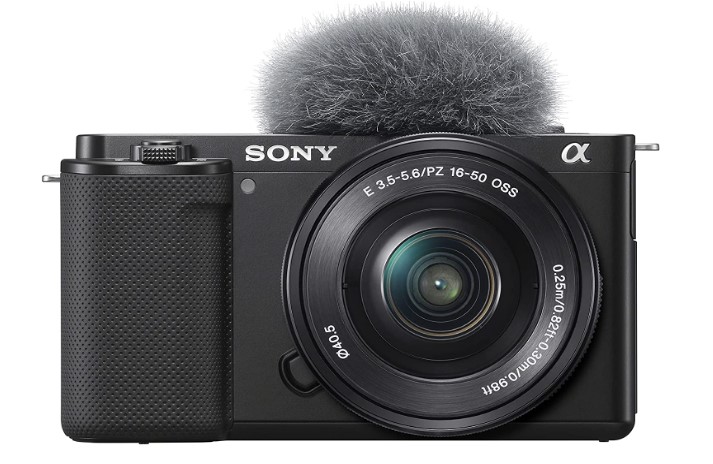
Taking better photos of your keyboard requires the right equipment. You will need a digital camera with a macro lens capable of capturing close-up shots. This will allow you to get a true representation of the keyboard and its keys. Additionally, you may need a tripod or other type of stabilizing mount to minimize any camera shake or blurring.
Setting up the lighting
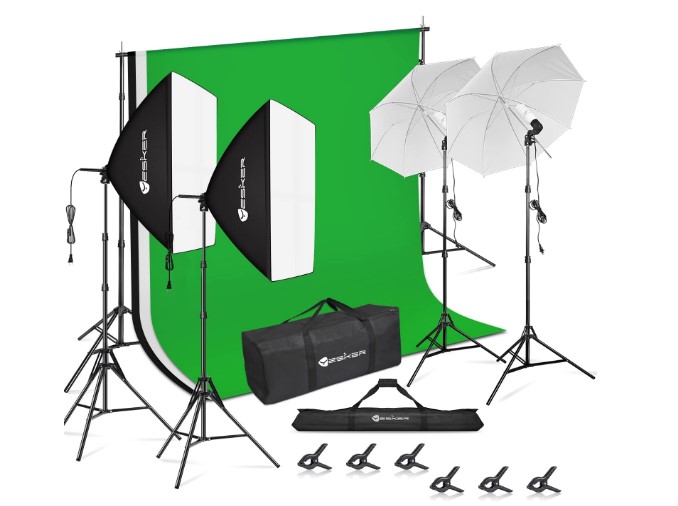
Lighting is one of the most important parts of photography. You should try to use natural light whenever possible, as it will give your photos a more natural feel. However, you can also use flash or other lighting techniques to bring out the details of the keyboard. Make sure to experiment with different types of lighting to see what works best for your particular keyboard.
Choosing the right settings
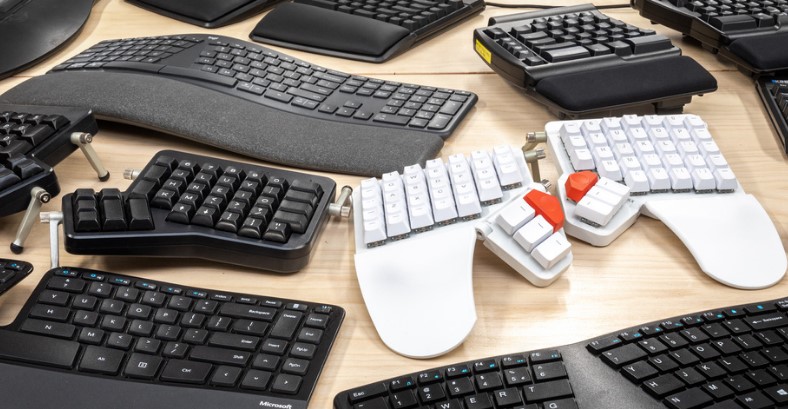
Once you have your equipment and lighting set up, you will want to choose the right settings. If you are using a digital camera, you should use the macro setting to get the best close-up shot of the keyboard. Additionally, you should experiment with different shutter speeds and aperture settings to get the best results. This will help ensure that you get the best photos of your keyboard.
Taking the Photos
When it comes to taking a picture of your keyboard the most important step is the actual taking of the photo. This part is crucial for making sure you get the best shot possible.
Framing the shot
When framing the shot, it is important to make sure that the subject is properly centered and that the frame encompasses the entire keyboard. This will ensure that all the details of the keys and design are captured. Additionally, it is important to make sure there are no distractions in the background of the photo.
Selecting the right angle
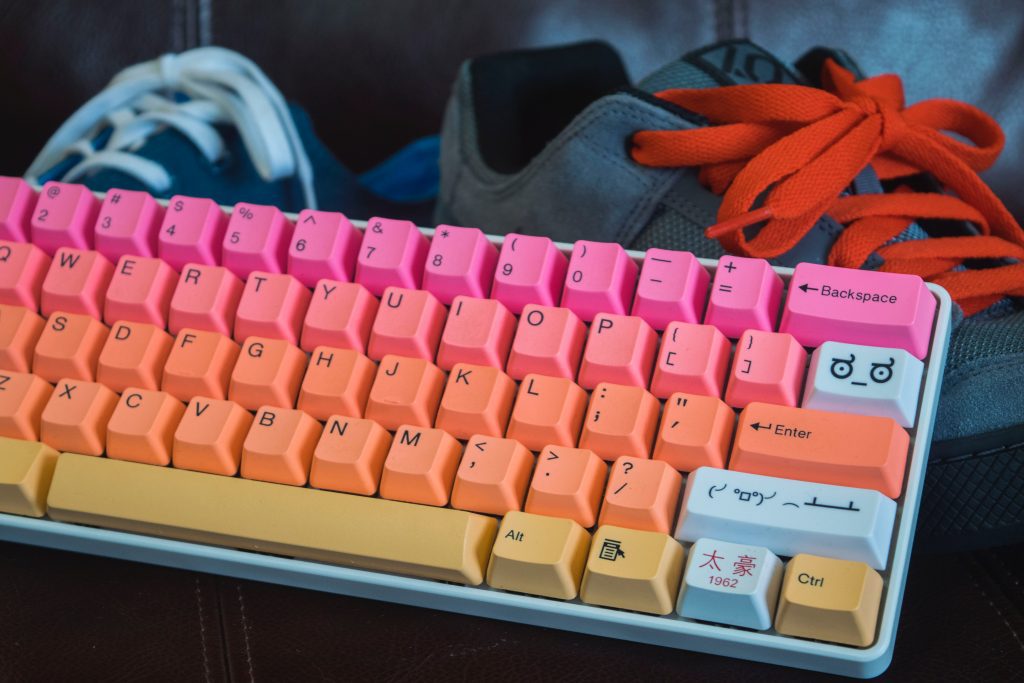
The right angle when taking a photo of your keyboard is extremely important. You want to make sure you are shooting from an angle that is flattering to the keyboard and that highlights the colors and design. It is also important to make sure you are not shooting from too low or too high of an angle.
Paying attention to detail
When taking a photo of your keyboard it is important to pay attention to small details. Make sure the keys are in focus, the colors are accurate, and the design of the keyboard is properly captured. Additionally, make sure that you are capturing the keyboard in the best light possible. This will lead to a much better photo.
Editing the Photos
Taking photos of your keyboard doesn’t just end with taking the photos. Once the photos are taken, it is important to edit them in order to make them look their best. With the right editing tools and techniques, you can dramatically improve your photos and make them look even more amazing.
Using basic editing tools to improve the photos
The first step in editing your photos of your keyboard is to use basic editing tools to enhance the photos. This includes adjusting the levels, curves, brightness, and contrast of the photos. This will help to make the photos more vibrant and bring out any details that may have been lost in the original photo. Additionally, you can use tools like sharpening and noise reduction to further improve the quality and clarity of the photos.
Enhancing the colors and contrast
Once you have adjusted the basic settings of the photo, you can then move on to enhancing the colors and contrast of the photos. This can be done through a variety of methods such as using the hue and saturation sliders, or by applying a gradient map. These techniques will help to make the colors of the photo more vibrant and will also help to make the contrast stand out more.
Applying special effects
The last step in editing your photos of your keyboard is to apply special effects. This can be done through a number of different methods, such as using filters and overlays. These effects can be used to add a unique and creative touch to the photos and will help to make them stand out from the rest. Additionally, you can also use lens flares and light leaks to further enhance the photos and make them even more interesting.
Conclusion
In conclusion, taking better photos of your keyboard does not have to be a difficult task. By following the steps outlined in this article, you can easily improve the quality of your keyboard photos and create a stunning portfolio of pictures that can be shared with family and friends. With the right camera, lighting, and background, your photos will be sure to impress. And if you’re feeling adventurous, you can even experiment with various editing techniques to further enhance the beauty of your keyboard photos. So, what are you waiting for? Get out there and start capturing beautiful keyboard photos today!
Also Read: How to Take Apart a Mechanical Keyboard Switch
Frequently Asked Questions
What kind of camera do I need to take better photos of my keyboard?
You can take great photos of your keyboard with any camera that has manual settings, such as a DSLR or mirrorless camera. However, if you don’t have access to one, you can also use your smartphone camera.
How do I set up my keyboard for photography?
To set up your keyboard for photography, you should make sure that it is in a well-lit area and that the lighting is even. You should also make sure that the keyboard is placed on a flat surface and that all of the keys are clearly visible.
What kind of lighting should I use to take photos of my keyboard?
Natural light is the best light to use when taking photos of your keyboard. You can also use a softbox to diffuse the light and create a more even lighting for your photos.
What are some tips for taking better photos of my keyboard?
Some tips for taking better photos of your keyboard include using a tripod to keep your camera steady, using a macro lens to get close-up shots, and experimenting with different angles and perspectives.
What kind of editing should I do to enhance my keyboard photos?
Editing your keyboard photos can help to enhance their quality. You can use basic editing tools such as cropping and adjusting the contrast, brightness, and saturation. You can also experiment with filters and other effects to create a unique look for your photos.

