Custom mechanical keyboards are becoming increasingly popular among gamers and computer users alike. With their superior typing performance, unique look, and customizable components, they are the perfect way to show off your individual style and give you a competitive edge. If you’re looking to build your own custom mechanical keyboard, this article will guide you through the process step-by-step, from selecting the right components to assembling and fine-tuning your end product.
Steps to Build a Custom Mechanical Keyboard
Gathering the components
When it comes to building a custom mechanical keyboard, the first step is gathering the components. The components that are needed are: a keyboard PCB (Printed Circuit Board), keycaps, switches, stabilizers, LEDs, wiring, and a USB cable.
Keyboard PCB
A keyboard PCB is the main board of the keyboard and is responsible for interpreting the keystrokes. It usually comes with a pre-programmed microcontroller and is used to connect the various components of the keyboard.
Keycaps
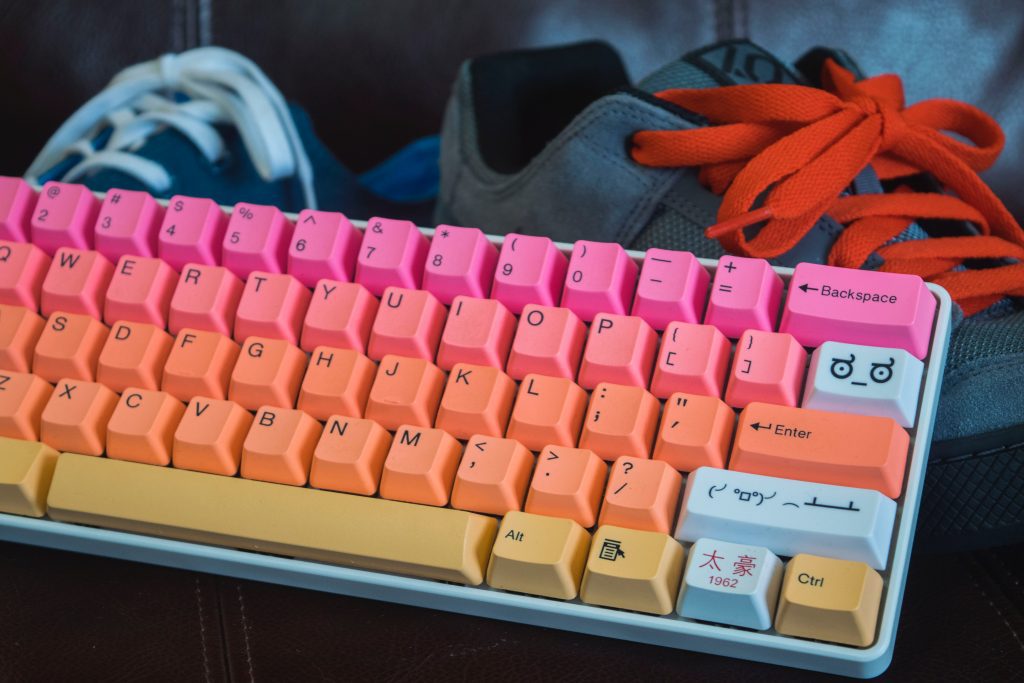
Keycaps are the top part of the keys and they come in a variety of shapes, sizes, and colors. They are used to cover the switches and provide a tactile feel when typing.
Switches
Switches are the mechanical parts of the keyboard that allow the user to press the keys. Different types of switches have different characteristics such as actuation force, travel distance, and sound.
Stabilizers
Stabilizers are used to keep the keys from wobbling when pressed. They are usually made of metal or plastic and come in different sizes and shapes.
LEDs
LEDs are used to provide a backlight for the keyboard and come in a variety of colors. They can be used to highlight certain keys or to provide a colorful backlight for the entire keyboard.
Wiring
Wiring is used to connect the various components of the keyboard. It typically consists of a ribbon cable and individual wires for each switch.
USB Cable
The USB cable is used to connect the keyboard to the computer. It is usually a Type-A to Micro-USB cable and is used to provide power and data to the keyboard.
Once all the components are gathered, the next step is to assemble the keyboard. This includes soldering the components to the PCB, assembling the keycaps and switches, and connecting the wiring. After the keyboard is assembled, the user can then program the keyboard and enjoy the custom mechanical keyboard experience.
Assembling the Keyboard
Assembling the Keyboard is the final step in building a custom mechanical keyboard. It requires knowledge of soldering, as well as some patience to finish the job.
Installing the keyboard PCB
Installing the keyboard PCB is the first step. It involves connecting the separate components to the circuit board. This can be done by following the manufacturer’s instructions, or by using the provided diagrams. It is important to ensure that all the components are in the correct order, and all the connections are made correctly.
Soldering the switches
Soldering the switches is the next step. This involves connecting the switch’s legs to the keyboard PCB. It is important to pay attention to the orientation of the switch, and to ensure that it is in the correct position. After soldering, it is important to check all the connections to make sure they are secure.
Trimming the stabilizers
Trimming the stabilizers is an important step in the assembling process. This involves removing the excess plastic from the stabilizers to ensure a smooth key press. This can be done using a pair of scissors or a hobby knife.
Installing the keycaps
Installing the keycaps is the one of the final step of the assembling process. This involves taking the keycaps and placing them on the switches. It is important to ensure that the keycaps are properly aligned and secured in place. Once the keycaps are in place, the custom mechanical keyboard is ready to be used.
Installing the LEDs
Installing the LEDs: If you have opted to include LED lighting in your keyboard, the next step is to install the LEDs. This requires soldering the LEDs to the PCB or plate, making sure to connect the positive and negative terminals correctly. Once the LEDs are installed, you can use the software to customize the lighting patterns and colors.
Wiring the keyboard
Wiring the Keyboard: Once the LEDs are installed, it is time to wire the keyboard. This involves connecting the switches to the PCB, as well as connecting the diodes, resistors and other components necessary for the keyboard to function. Depending on the type of switches you have chosen, the wiring process may need to be adjusted.
Connecting the USB cable
Connecting the USB Cable: The last step of the custom keyboard build is to connect the USB cable. This is a simple process that involves connecting the USB cable to the PCB or plate. Once the cable is connected, the keyboard is ready to be used.
Benefits of building your own custom mechanical keyboard
Building your own custom mechanical keyboard has a number of advantages and benefits. The most obvious benefit is that you have complete control over the design, allowing you to customize the keyboard to your exact specifications and needs. You can choose the switches, keycaps, and other features that will make the keyboard perfect for your individual usage.
Custom mechanical keyboards are also much more durable than conventional keyboards. Mechanical keyboards use high-quality components, such as Cherry MX switches, which are known for their reliability and durability. This means that your keyboard will last much longer than a conventional keyboard.
Custom mechanical keyboards also offer a great deal of flexibility. You can swap out and customize the keycaps, switches, and even the case of your keyboard. This allows you to easily adjust the design of your keyboard to suit your needs and preferences.
Finally, custom mechanical keyboards are much more comfortable to use than regular keyboards. Mechanical keyboards use larger keycaps and a more ergonomic layout, which can help reduce strain on your wrists and fingers while typing.
Conclusion
In conclusion, building a custom mechanical keyboard can be an enjoyable and rewarding experience. Not only can you get a keyboard that is tailored to your own needs and preferences, but you can also learn more about how mechanical keyboards work, and how to build and maintain them. With the right parts and the right tools, you can create the perfect custom mechanical keyboard for your needs.
Also Read: How Often Should You Clean your Keyboard?
Frequently Asked Questions
What are the components needed to build a custom mechanical keyboard?
The components needed to build a custom mechanical keyboard include a printed circuit board, a set of mechanical switches, keycaps, a case, and an optional plate.
How difficult is it to build a custom mechanical keyboard?
Building a custom mechanical keyboard can be a challenging task, but with the right knowledge and tools it can be a rewarding experience.
How much does it cost to build a custom mechanical keyboard?
The cost to build a custom mechanical keyboard will depend on the components chosen, but it can range from around $100 to several hundred dollars.
How long does it take to build a custom mechanical keyboard?
It can take anywhere from several hours to several days to build a custom mechanical keyboard, depending on the components chosen and the level of experience.
What type of switches should I use for my custom mechanical keyboard?
The type of switch used should depend on the user’s preferences. Popular switch types include Cherry MX, Gateron, Kailh, and Topre.


